One Of The Best Tips About How To Fix Dado Rail

How To Fit A Dado Rail - Youtube
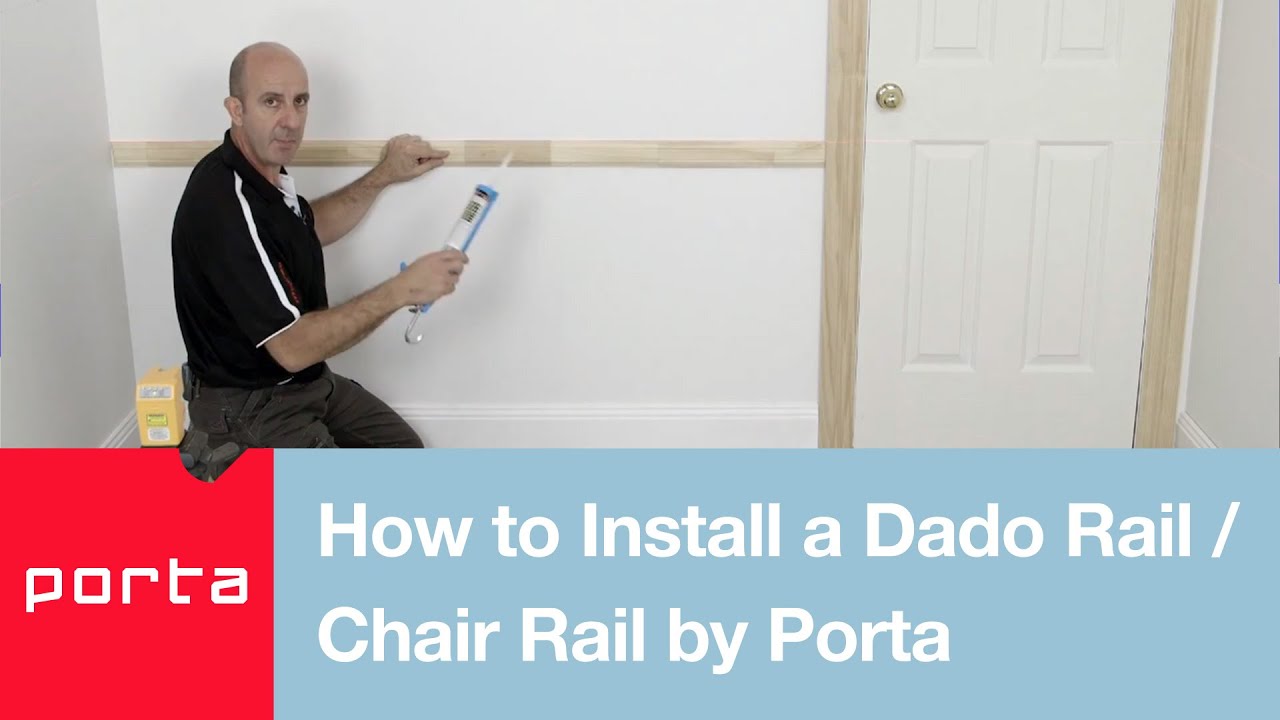
How To Install A Dado Rail/ Chair Rail By Porta - Youtube

Fitting A Dado Rail - Youtube
How To Fit A Dado Rail | Expert Guide - Skirting World
How To Fit A Dado Rail - Video Guide | Skirting 4 U

Installing A Dado Rail - Diy Daddy
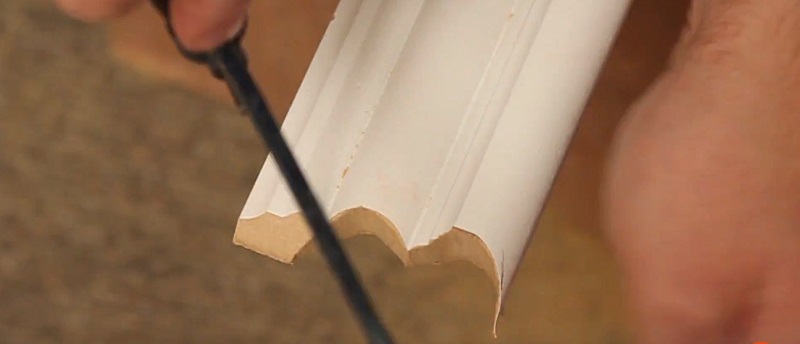
Start with the longest piece.
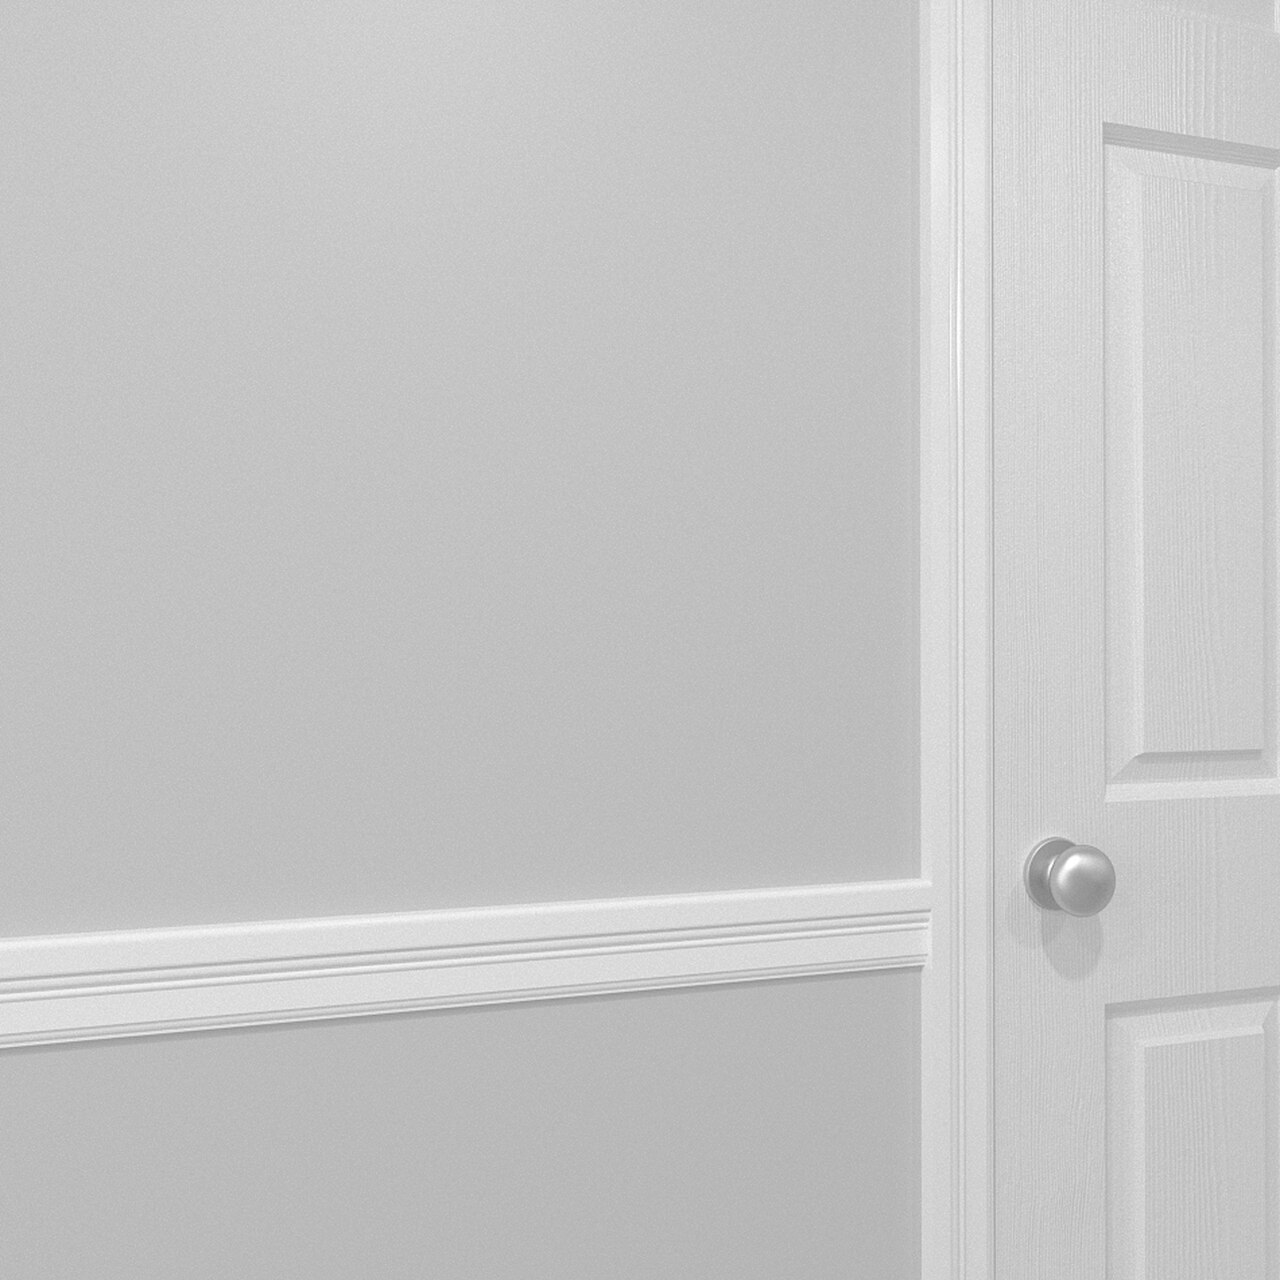
How to fix dado rail. It is advisable to fix dado rail at a height of 90 to 100 cm from floor level. Depending on how you intend to finish the dado rail, you can use dowel to hide. 2) have the same colour above and below the dado rail and then white above picture rail and ceiling.
Then mark the positions for your pieces of dado rail with your pencil. Screws can be used to attach. Apply masking tape to the walls and ceiling so that about half an inch of the tape will be covered by the dado rail.
How do you stick a dado rail? Apply some unibond no more nails original to the back of your first piece of dado rail, find the right place and fix it to the wall. For any sections of dado rail that meet a mitre joint you will.
This is how we installed our picture rails in the house. 3) have white under the dado rail, have a band of colour between dado and picture rail. Following on from bodget's comment you can also try steaming which helps with longer runs, if you have a wall paper stripper, or can borrow one, make up a simple box that fits.
Apply masking tape to the walls and ceiling so that about half an inch of the tape will be covered by the dado rail. Apply masking tape to the walls and ceiling so that about half an inch of the tape will be covered by the dado rail. About press copyright contact us creators advertise developers terms privacy policy & safety how youtube works test new features press copyright contact us creators.
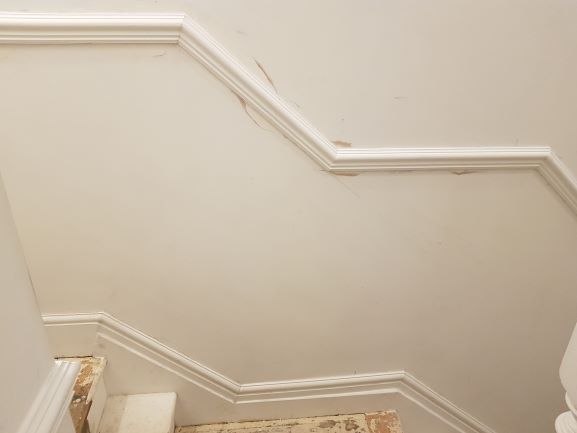
In this video guide, we show you how to fit a dado rail to your wall. Evening all, we're on the move and i thought i would be nice to the new occupants and repair the dado rail where i have cut out sections to hang a wall. Apply masking tape to the walls and ceiling so that about half an inch of the tape will be covered by the dado rail.
Dado Rail - A Step By Guide To Cut And Fitting Rails
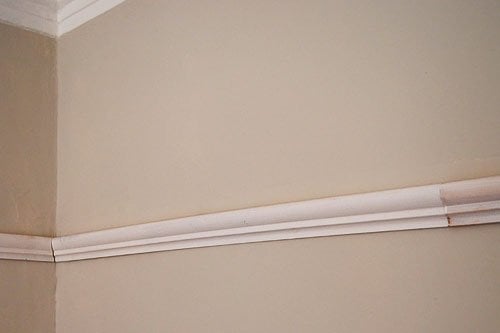
Have I Messed Up My Dado Rails? - Page 1 Homes, Gardens And Diy Pistonheads Uk

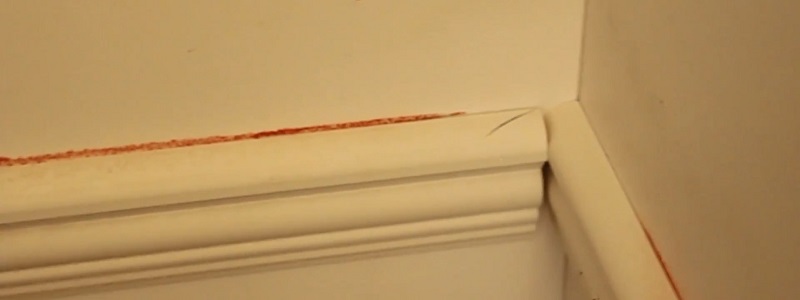
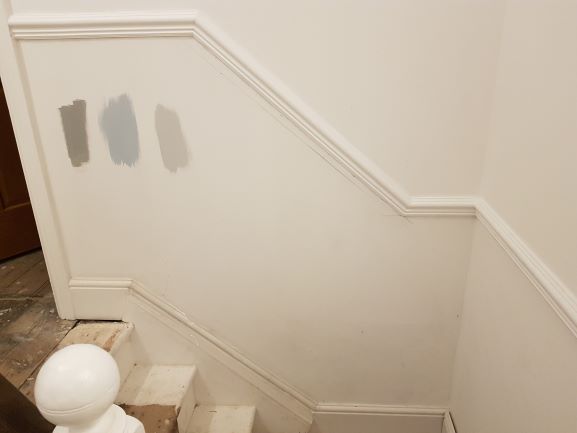
Fitting Dado Rail On Stairs
Help] How To Cut Dado Rail Corner (in Situ) For Trunking? : R/diy
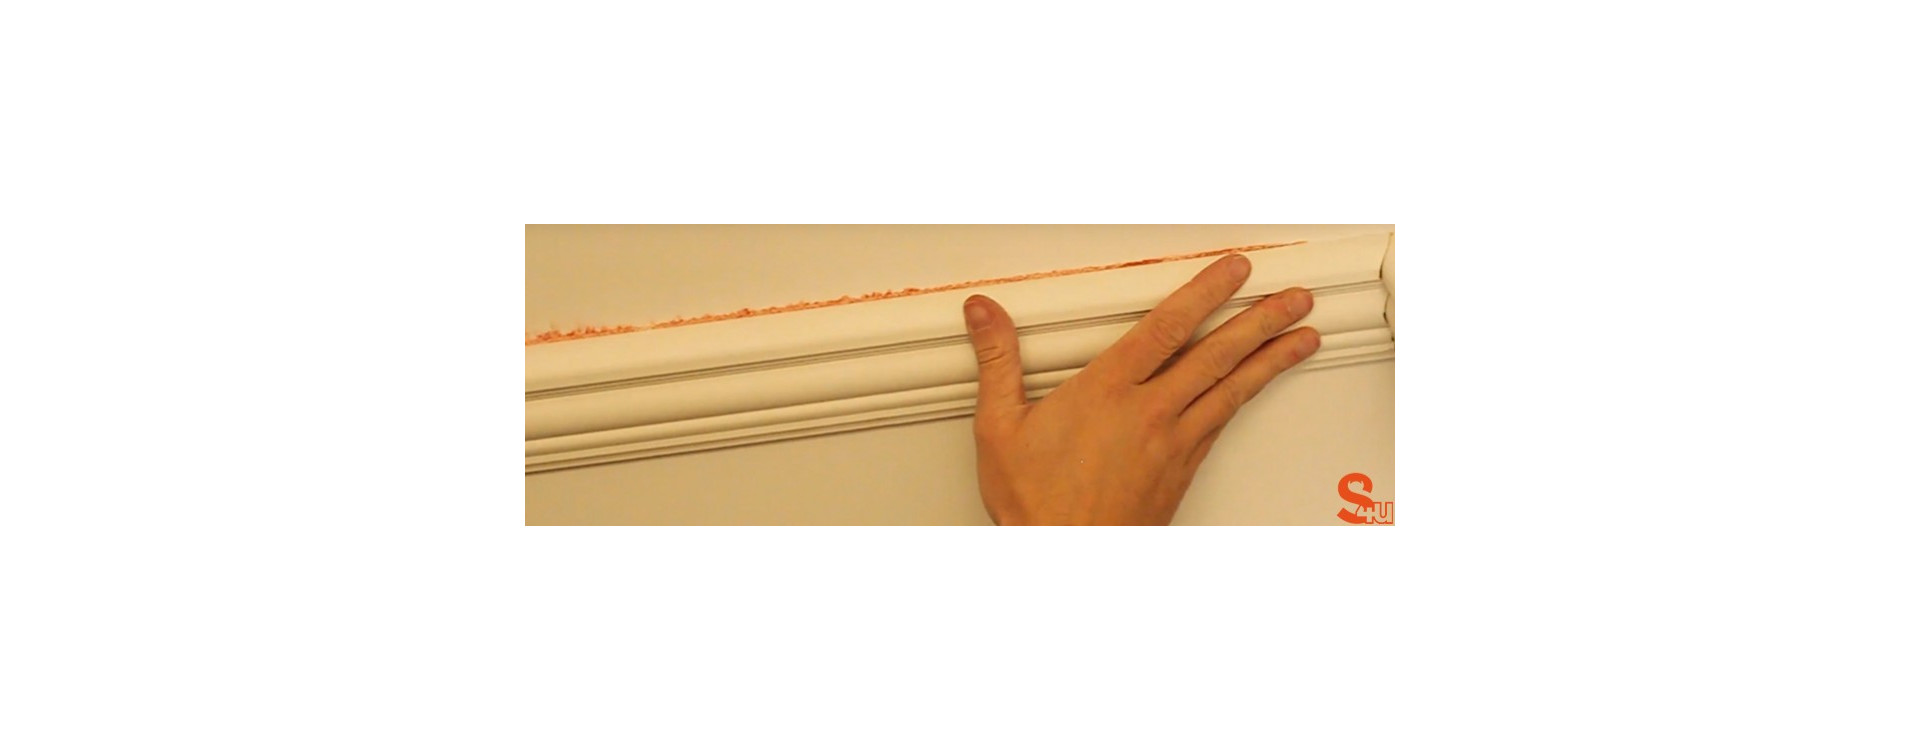
How To Fit A Dado Rail - Video Guide | Skirting 4 U

How To Add A Dado Rail Wall - From Evija With Love
How To Fit A Dado Rail - Video Guide | Skirting 4 U
Dado Rail - A Step By Guide To Cut And Fitting Rails

Have I Messed Up My Dado Rails? - Page 1 Homes, Gardens And Diy Pistonheads Uk
Dado Rail - How To Position, Cut And Fit Rails

How To Fit A Dado Rail - Video Guide | Skirting 4 U

Diy Wall Panelling Tutorial | Interior Design Blog Cloud Interiors
Have I Messed Up My Dado Rails? - Page 1 Homes, Gardens And Diy Pistonheads Uk